N-genius Supervisor Menu
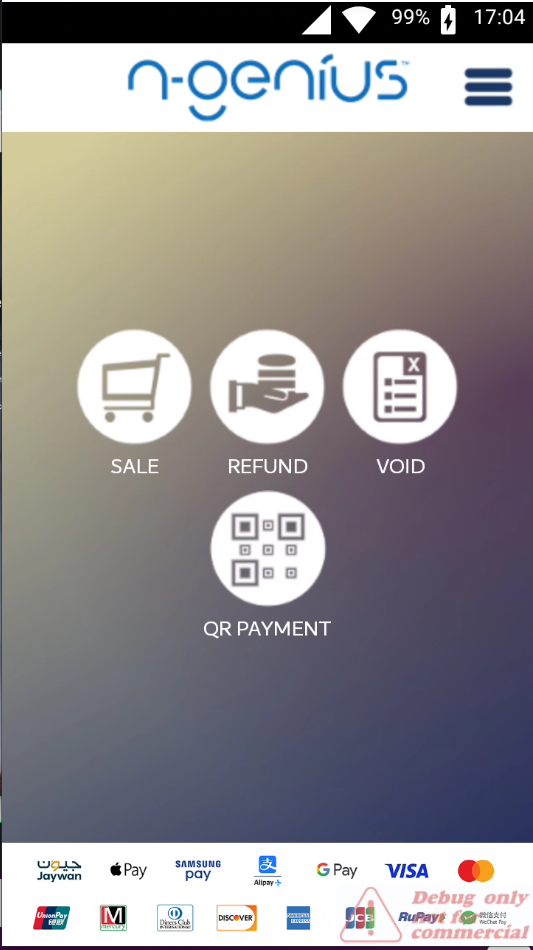
While OM-A880 terminals don’t provide direct access to basic Android functionality, they offer a crucial troubleshooting tool. This tool is the Supervisor Menu, accessible from the terminal's main page. It's important to emphasize that this menu is designed explicitly for Network International specialists, empowering them to gather essential information about the device.
It's crucial to understand that the Supervisor Menu is not for user modification. It's a tool designed for Network International staff. Modifying settings without proper knowledge can lead to unintended consequences, potentially disrupting operations.
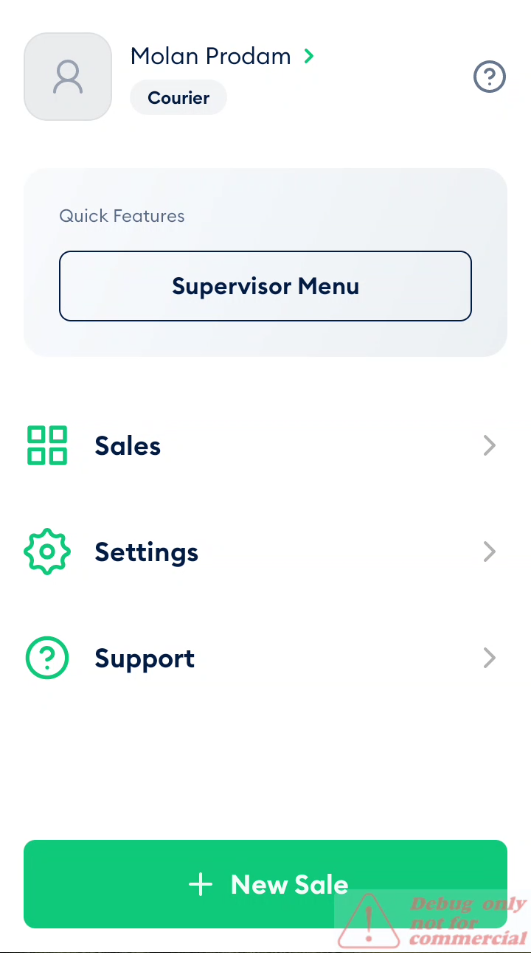
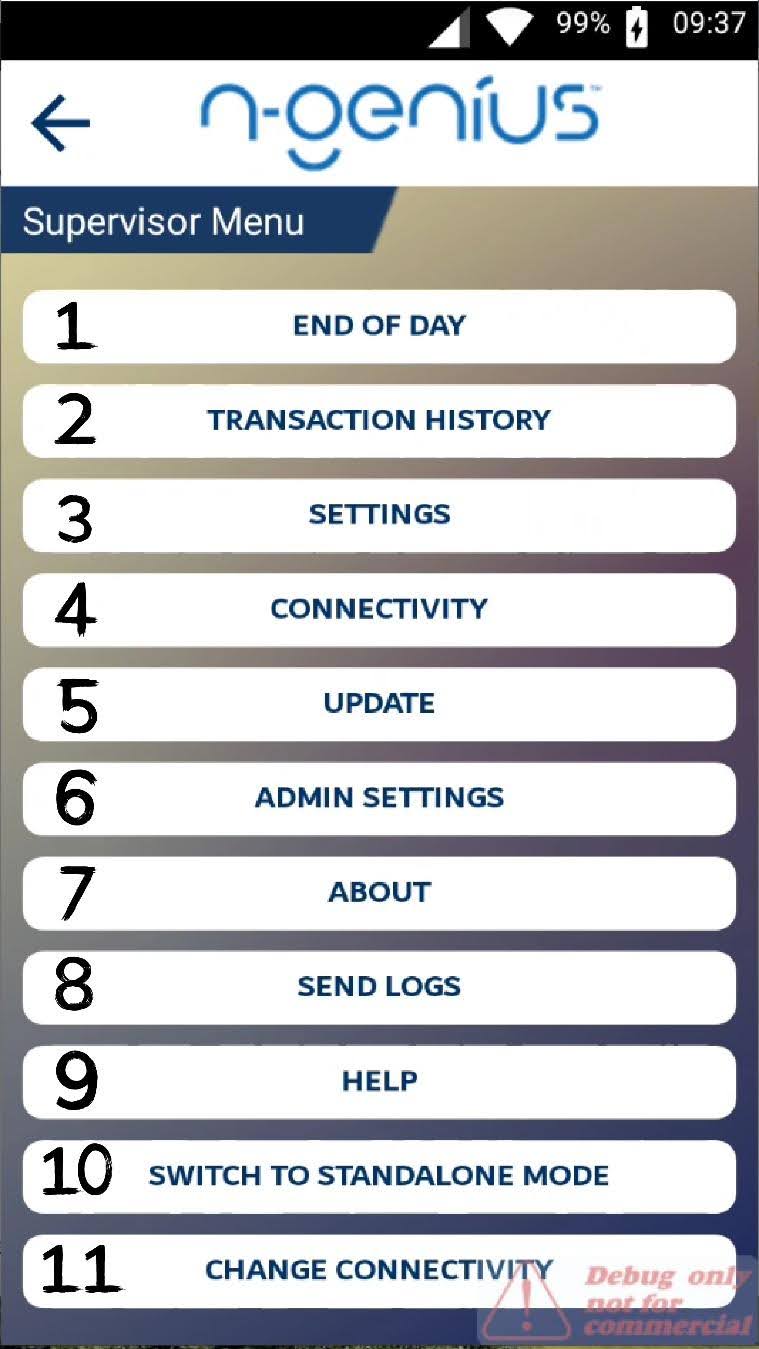
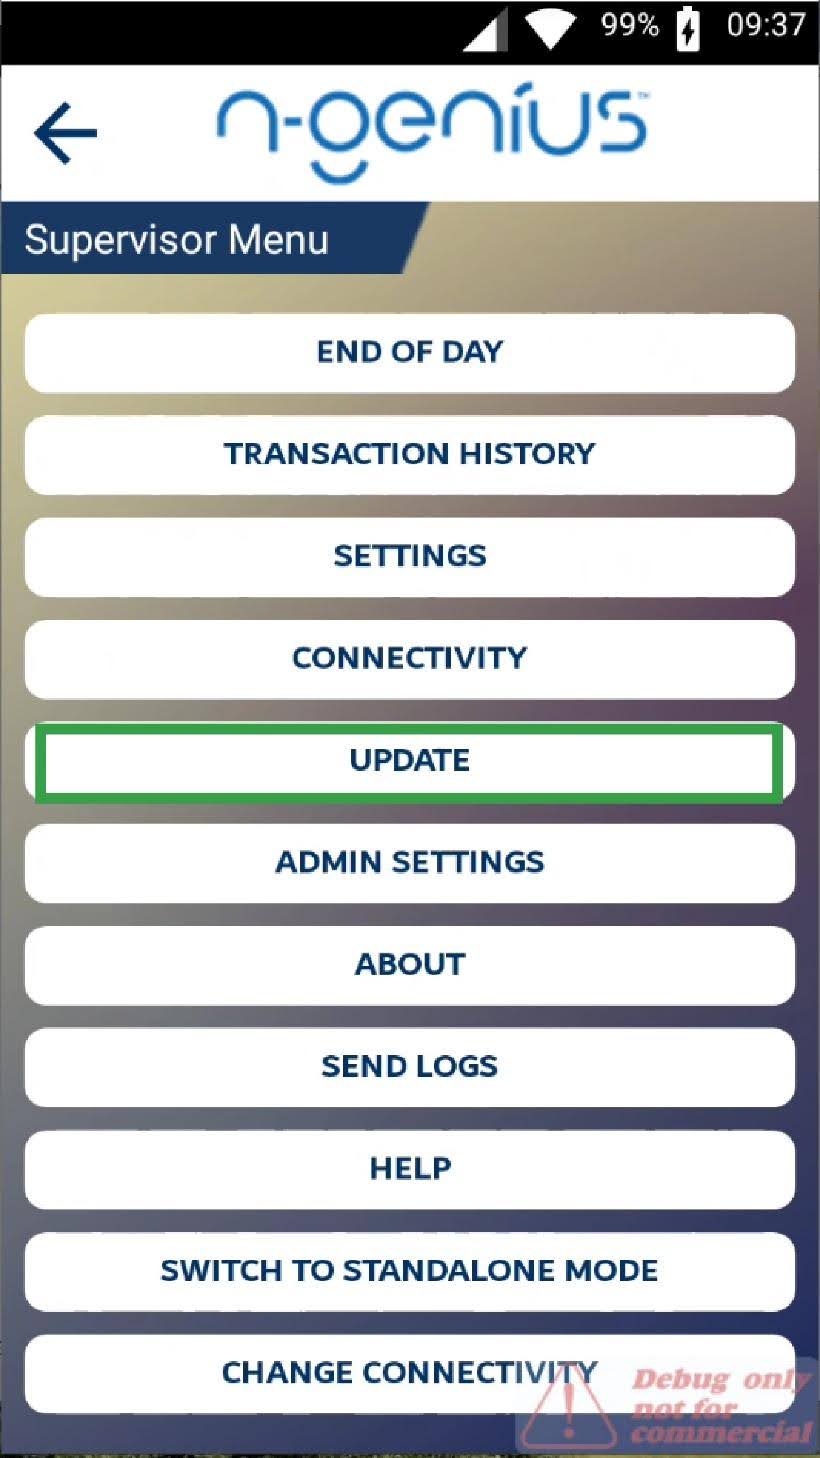
Once clicked, the Supervisor Menu will open the following list of options. Let’s examine each of them.
End of Day
On N-genius devices provided by Network International, each shift lasts 24 hours. It's of utmost importance that once an employee ends their shift, they also end the day using the End of Day option. Failing to do so could lead to errors and prevent them from accepting new payments. Understanding and correctly using this option is therefore crucial for smooth operations.
Once you click on End of Day, the following window will appear.
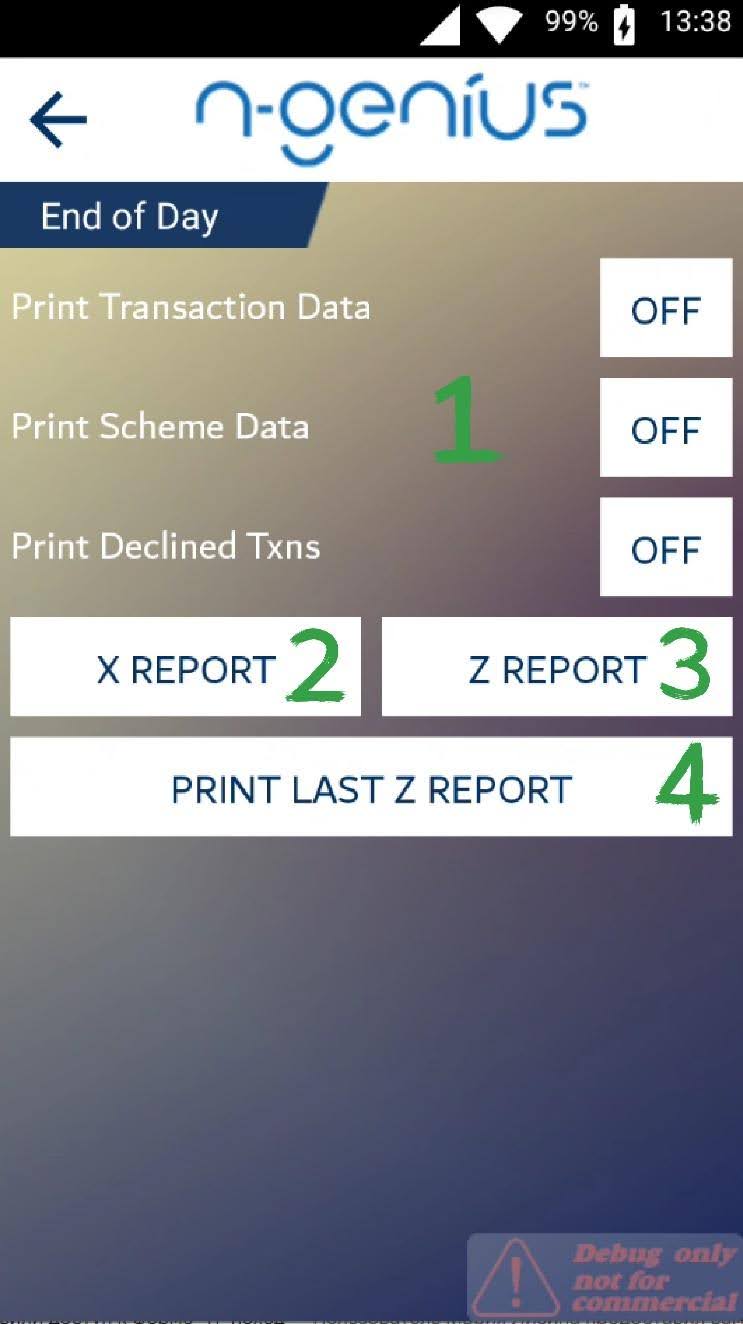
The upper section marked by (1) allows an employee to choose whether to select transaction data, print scheme data, or decline transactions. They must toggle the buttons On/Off.
X REPORT (2) button prints the interim reports if they follow the procedure at their shop. Z REPORT (3) is the most crucial button, as it prints the full report for the shift and ends the day. The device won't accept new payments before ending the previous day using Z REPORT. PRINT LAST Z REPORT button prints a copy of the last printed report.
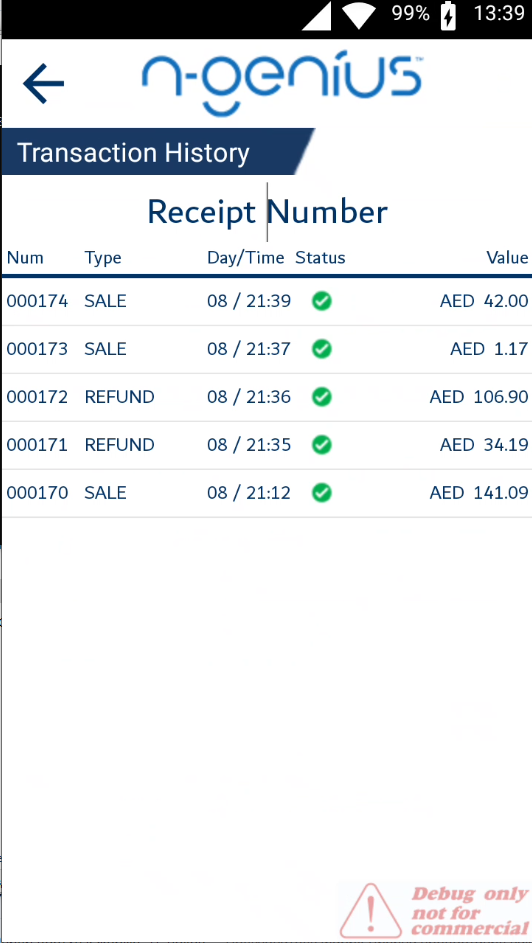
Transaction History
The Transaction History button shows all the transactions Network International stores for the POS device.
Settings
The Settings menu is supposed to allow changes in the Screen timeout (1), Screen brightness (2), Sound volume (3), WIFI Settings (4), and APN Settings (5). However, most of that functionality is unavailable due to the increased security of OM-A880 terminals.
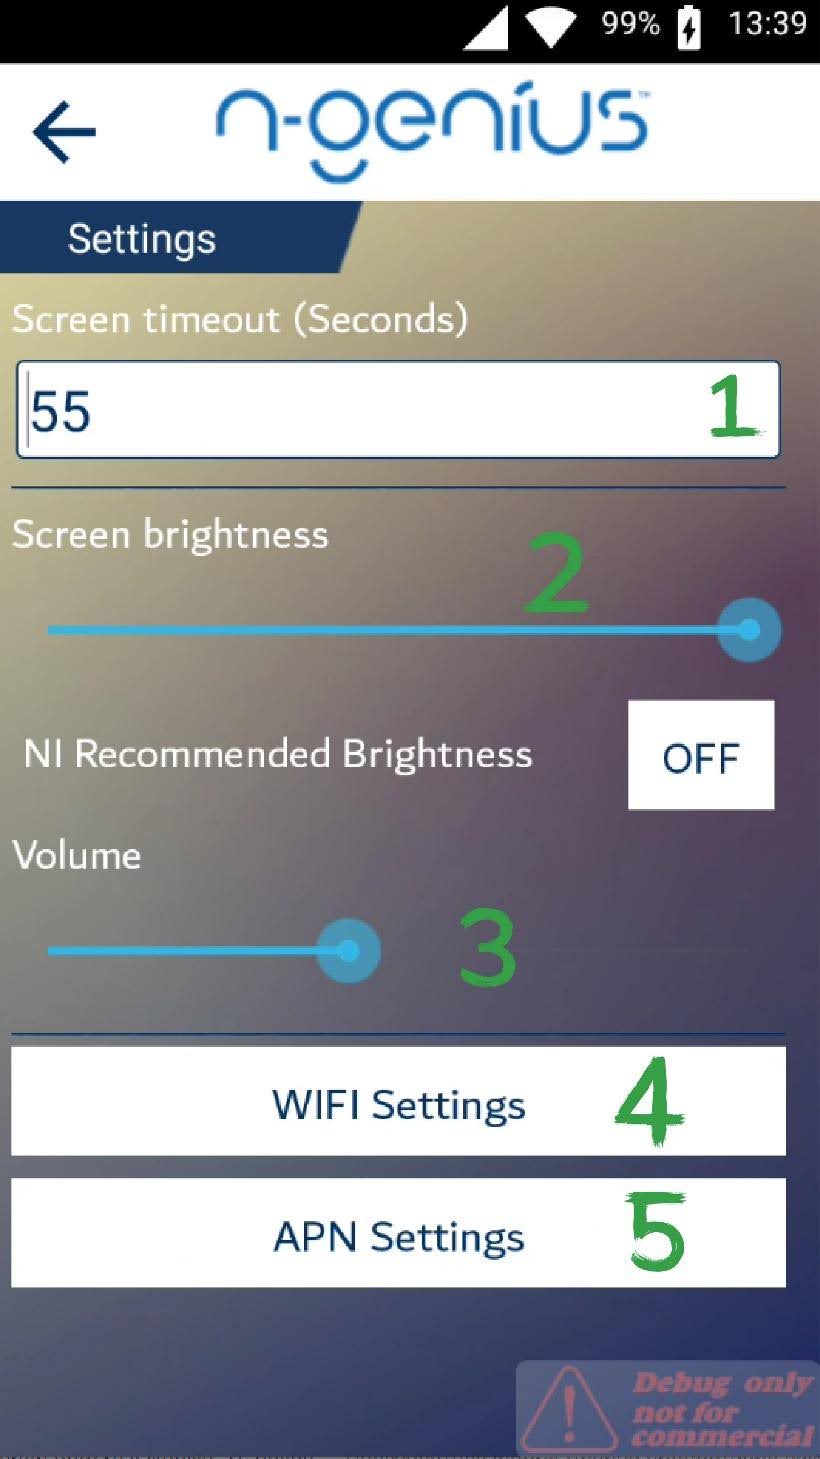
You can ignore the APN Settings (5) button.
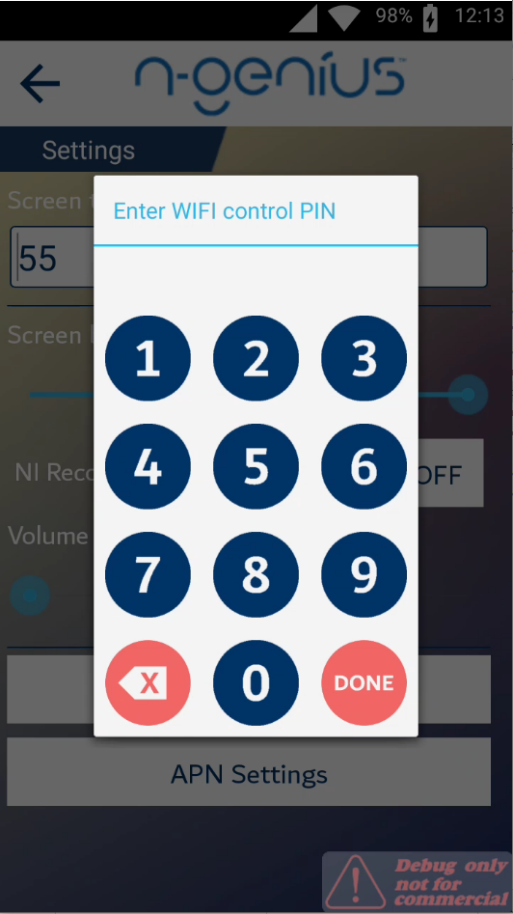
WIFI Settings (4) allows you to connect to a Wi-Fi network. To do so, click the button and enter the PIN provided by Network International.
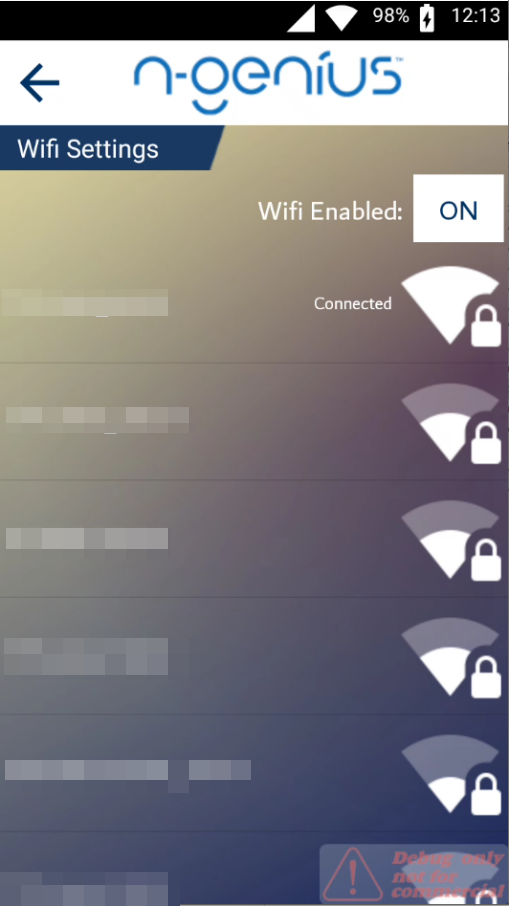
Choose a Wi-Fi access point, enter a password, and the device is connected to the network.
Connectivity
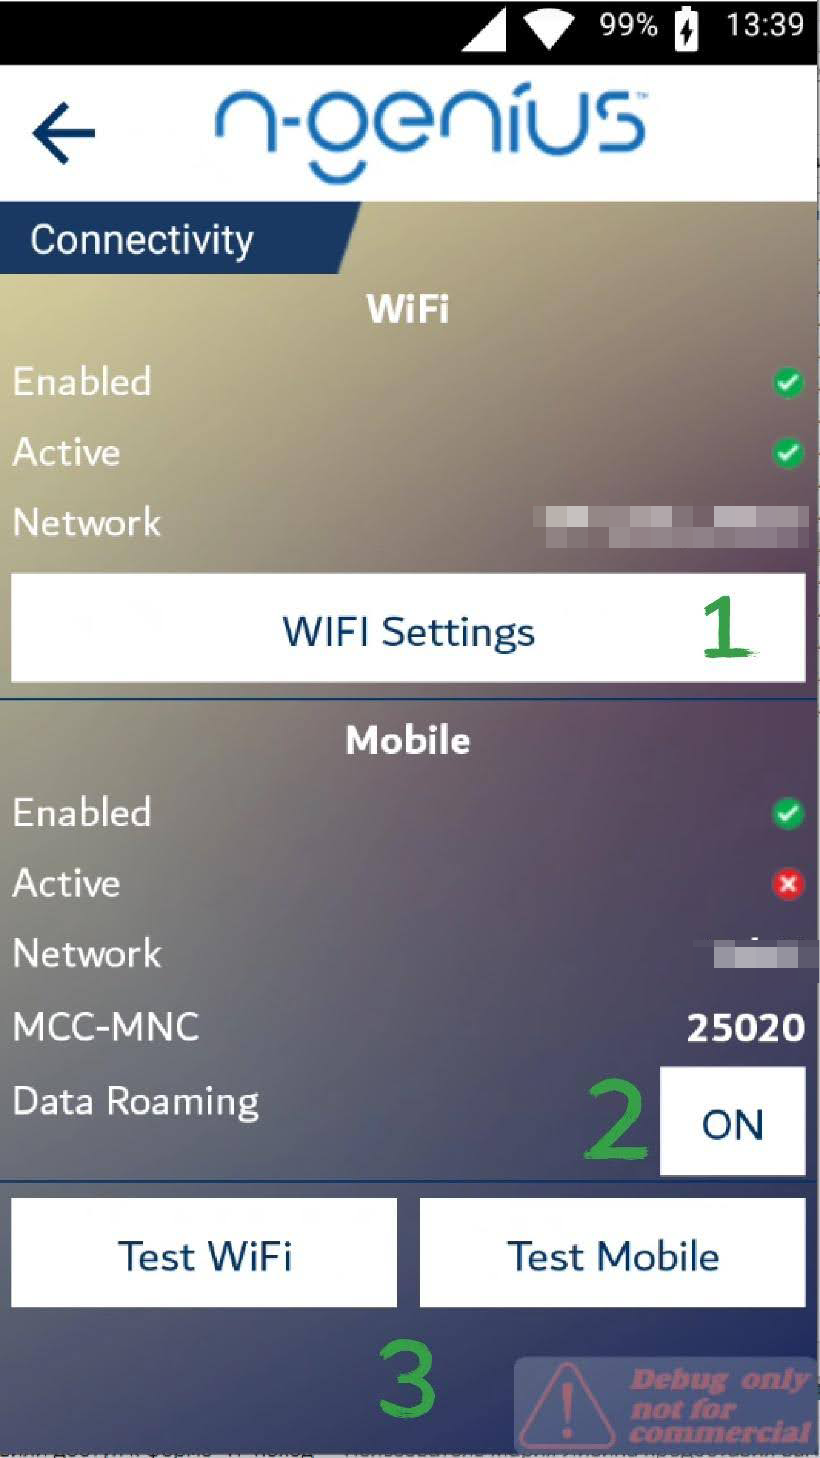
The Connectivity menu allows you to change WIFI settings (1) just as from the Settings menu from a previous slide (duplicate), toggle mobile data On/Off (2), and test Wi-Fi and Mobile data (3).
Update
Though it doesn’t open a menu, the Update option is the most crucial button. It's responsible for installing all the relevant updates from Network International. Regularly updating the device is a proactive measure to prevent potential issues and ensure optimal performance. In case of any problem, we strongly recommend using the Update button before attempting other solutions. Once the button pressed, the device will install updates and restart, ensuring optimal performance.
Admin Settings
The Admin Settings menu is a powerful tool that gives access to the Engineering Menu (1) and the Factory Reset button (2). These options are designed for advanced troubleshooting and should only be used by Network International personnel. Understanding these settings' purpose and potential impact can aid in effective troubleshooting and device management.
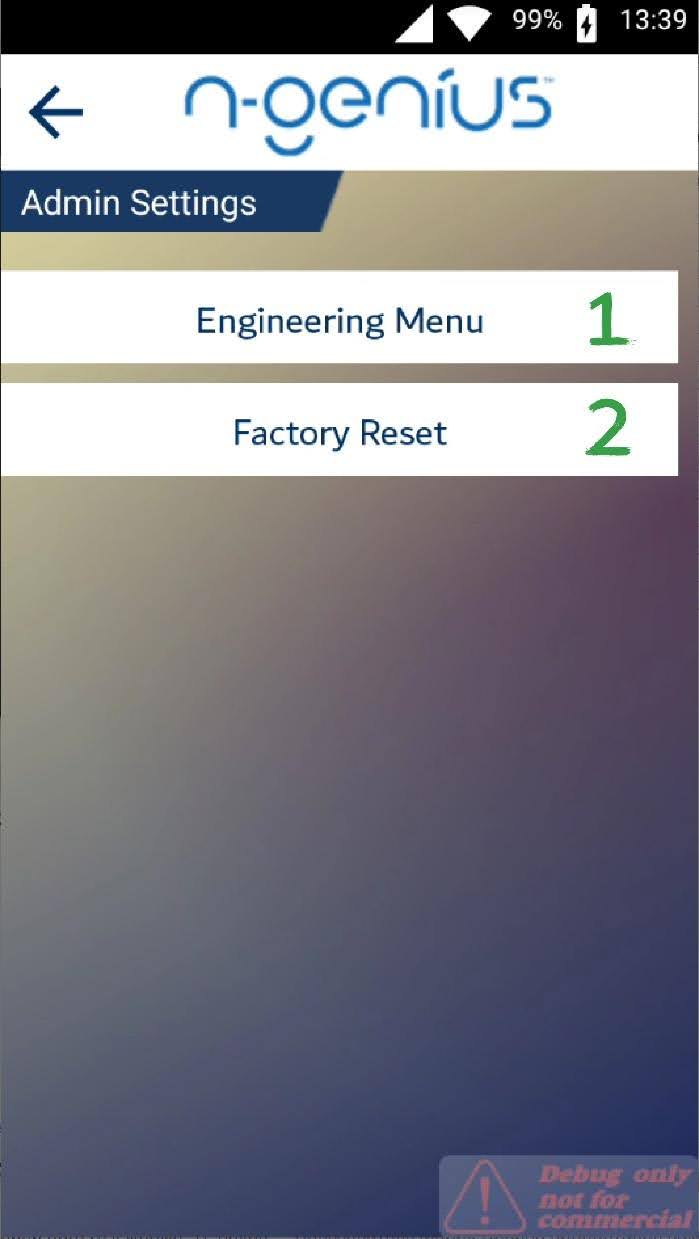
Attention! Neither of those buttons is created for users. Only Network International personnel can use them!
About
The About menu is a comprehensive tool that displays all the essential information about the POS device. Here, you can find the Merchant name, ID, AMEX Merchant ID, Serial Number, DCC Provider, DCC Status, and DCC Min / Max. This information is particularly useful for device identification and troubleshooting, as it provides a detailed overview of the device's configuration and status.
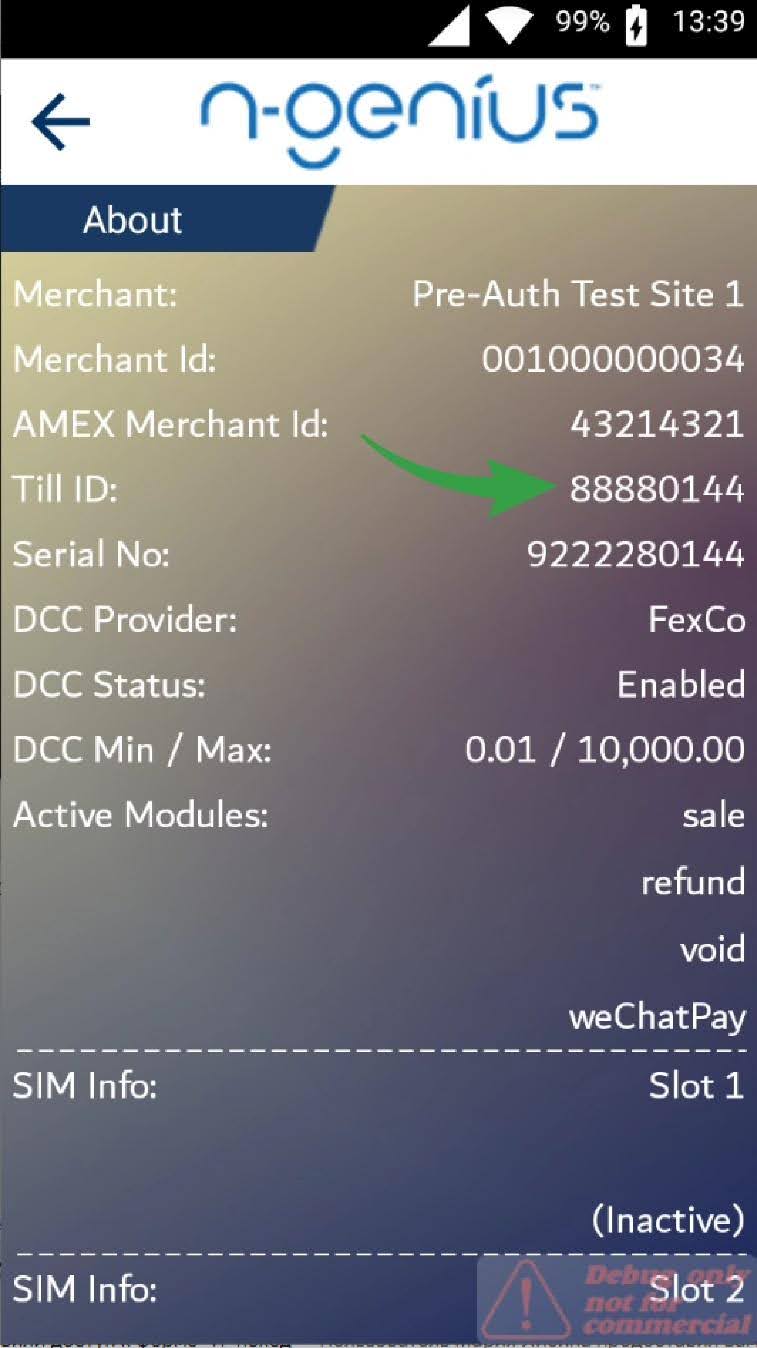
NOTE: With all that said, Till ID is the most critical part of the information, as Network International specialists use it when troubleshooting the device. It can’t be found elsewhere!
Send Logs
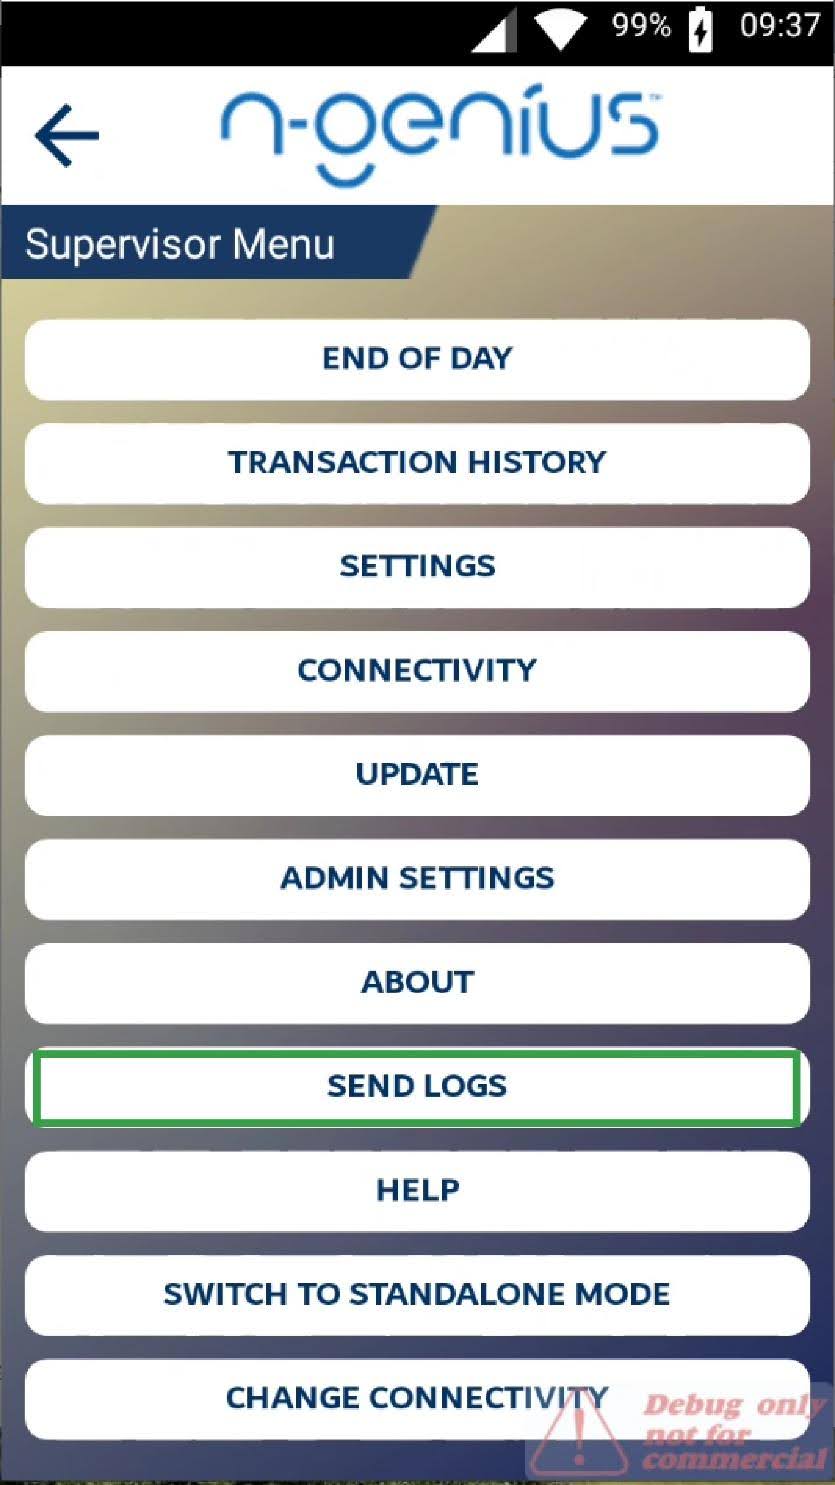
The **Send Logs button is a powerful tool that silently sends logs to the Network International team. This option is particularly useful when troubleshooting complex issues, as it provides detailed information about the device's operation. However, it shouldn’t be used unless directed by the Network International team to avoid unnecessary data transmission.
Help
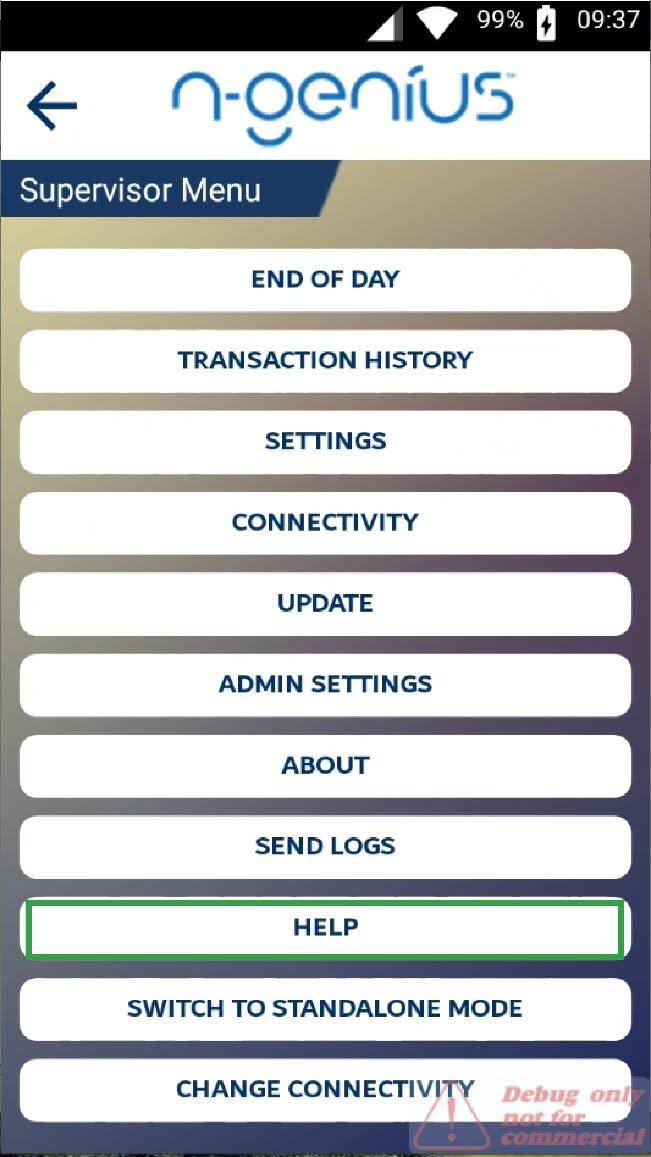
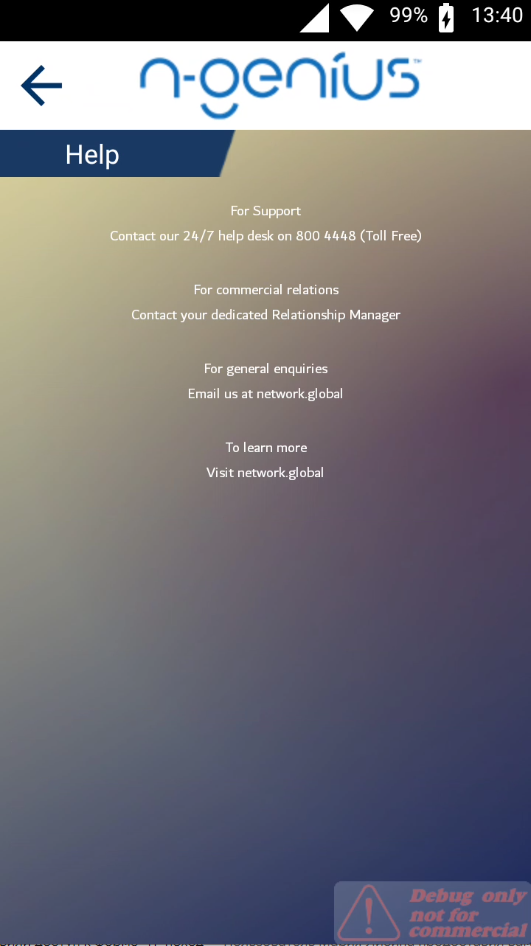
The Help button provides contact information for Network Internation support.
Switch to Standalone Mode
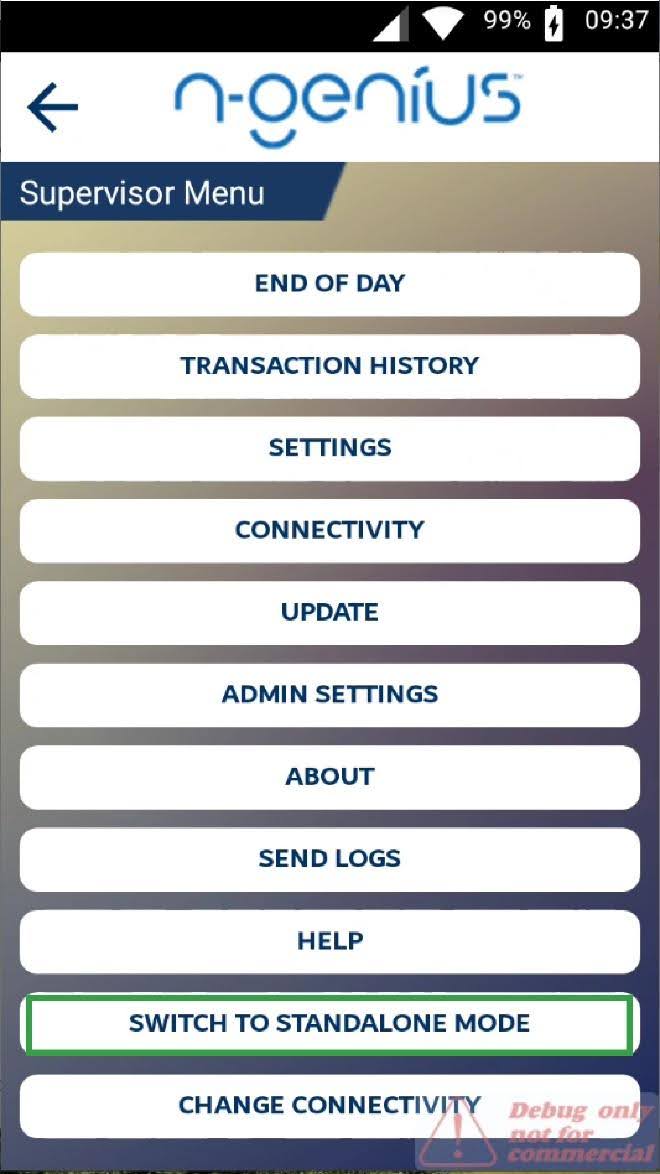
The Switch to Standalone Mode button is a last-resort tool that allows to sell and refund without the Fortis application. This mode should be used only when technical difficulties prevent Fortis from working correctly. It's important to note that none of the actions performed in this mode will be reflected in the Fortis database, so avoiding this functionality is preferable unless absolutely necessary.
Change Connectivity
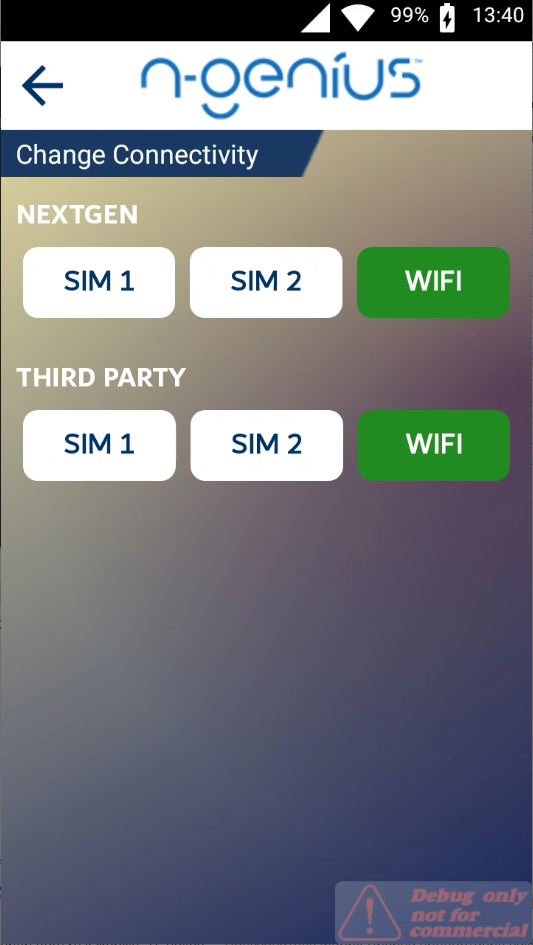
The Change Connectivity button is a versatile tool that allows you to select between Nextgen and third-party SIM providers and Wi-Fi data transfer. This functionality can be particularly useful when troubleshooting connectivity issues, as it provides a quick and easy way to switch between different network options.
